
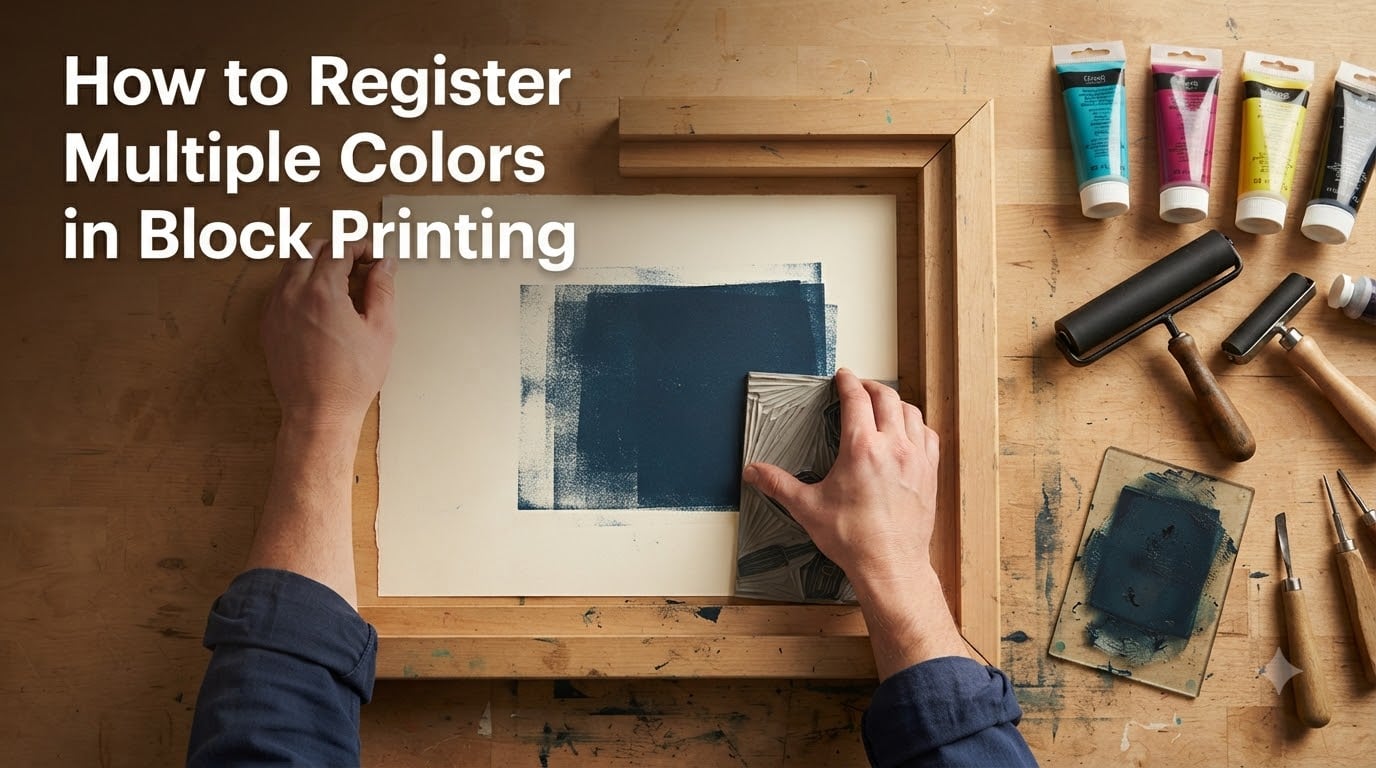
Learning how to register multiple colors in block printing is the single biggest leap you can make as a printmaker. Once you move past single-color prints, alignment becomes everything. A half-millimeter shift can turn a crisp design into a blurry mess.
I have spent years working through misaligned layers, ruined editions, and ink-smeared paper. What I want to share here is everything I learned the hard way so you do not have to. Whether you are printing on paper or fabric, using linocut blocks or traditional woodblocks, the registration principles are the same.
This guide covers the three main multi-color techniques, how to build a registration jig from scratch, a full step-by-step printing process, and troubleshooting tips for when things go wrong. By the end, you will have a clear roadmap for producing clean, professional multi-color block prints on your own.
Table of Contents
- What Is Registration in Block Printing?
- How to Register Multiple Colors in Block Printing: Three Main Techniques
- Materials and Tools You Need for Multi-Color Block Printing
- How to Make a Registration Jig for Block Printing?
- How to Register Multiple Colors in Block Printing: Step-by-Step Process
- Paper vs Fabric: Registration Considerations
- Common Registration Mistakes and How to Fix Them
- Tips for Perfect Color Alignment Every Time
- FAQs
- Conclusion
What Is Registration in Block Printing?
Registration is the process of precisely aligning your paper or fabric and your carved block so that each color layer prints in the exact right position. Think of it as a positioning system that guarantees your red lands where the red should go and your blue lands where the blue should go.
Without registration, colors drift. A design that looks sharp on the block can come out doubled, ghosted, or offset on paper. Registration solves this by giving you a repeatable way to place your substrate in the same spot for every single color pass.
Every professional printmaker relies on some form of registration system. Beginners often try to eyeball it, and that is the number one reason early multi-color prints fail. Setting up a simple registration method before you start printing saves hours of frustration and wasted materials.
How to Register Multiple Colors in Block Printing: Three Main Techniques
There are three primary approaches to multi-color block printing, and each handles registration differently. Your choice depends on your design, skill level, and how many prints you want to produce.
1. Multi-Block Technique
The multi-block method uses a separate carved block for each color. If you are printing a three-color design, you carve three blocks. Each block carries only the portion of the design meant for that specific color.
Registration is critical because every block must align perfectly with the others. You print the first color, let it dry, then register the second block against the same paper position, print again, and repeat for each color. This method produces clean color separation and is the most common approach for edition printing.
The main challenge is transferring your design accurately to multiple blocks. All blocks must be exactly the same size. Many beginners do not realize that even a tiny size difference between blocks throws off registration completely.
2. Reduction Printing Method
Reduction printing uses a single block for all colors. You carve away a little more of the block between each color pass, destroying the block as you go. This method guarantees perfect registration because the block never moves relative to the paper.
Here is how it works: you print the lightest color across your full edition first, then carve away the areas you want to stay that color, ink the block with the next color, and print over the same sheets. By the time you reach the final dark color, the block has been gradually reduced to just the darkest details.
The catch is that you cannot go back. Once you carve away a section, it is gone forever. You must print the full edition in one go because the block gets destroyed in the process. Reddit printmakers consistently recommend reduction printing as the easiest method for achieving perfect alignment, since there is no second block to misalign.
3. Jigsaw Method
The jigsaw method involves cutting a single block into puzzle-like pieces, inking each piece a different color, then reassembling them like a jigsaw puzzle before printing. Because the pieces fit back together in one configuration, alignment is built into the block itself.
This works best for designs with bold, distinct color areas rather than overlapping gradients. You cut along the boundaries between color zones, separate the pieces, ink each one separately, then fit them back together and print in a single pass.
Jigsaw printing saves time because you print all colors at once instead of making multiple passes. The limitation is that you cannot create overlapping or transparent color layers. It is a great starting point for two-color designs.
Materials and Tools You Need for Multi-Color Block Printing
Having the right tools makes registration dramatically easier. Here is what I recommend for a multi-color setup:
Linoleum blocks or carving blocks: All blocks must be identical in size for the multi-block technique. Soft-cut blocks work well for beginners.
Carving tools: A basic set of gouges with V-shaped and U-shaped blades handles most designs.
Brayer (roller): One brayer per color prevents contamination, or clean thoroughly between colors.
Block printing ink: Water-based inks clean up easily, while oil-based inks offer richer color and slower drying time.
Baren or printing press: For transferring ink from block to paper. A wooden spoon works as a budget baren substitute.
Registration jig or pins: Ternes Burton pins, an L-shaped corner jig, or a custom registration board.
Printing paper or fabric: Use consistent sheet sizes for predictable registration.
Carbon paper or transfer method: For accurately transferring your design to multiple blocks.
You can mix block printing ink colors to create custom shades. Yes, ink mixing works with both water-based and oil-based inks. Just stay within the same ink type and brand for the best results, since different formulas may not blend smoothly.
How to Make a Registration Jig for Block Printing?
This is the part most tutorials gloss over, and it is the most common question in printmaking forums. A registration jig is a physical guide that holds your paper and block in the same position every time. Here are three options, from simplest to most precise.
L-Shaped Corner Jig (Simplest Method)
This is the easiest registration jig you can build, and it works surprisingly well for two and three-color prints.
Step 1: Get a flat board larger than your paper. Plywood or MDF works fine. Tape or glue two strips of cardboard or thin wood along two adjacent edges to form an L-shape in one corner.
Step 2: Slide your paper into the corner so it sits flush against both strips. Your paper will now always land in the same spot.
Step 3: Position your block on the paper and mark where it goes with pencil ticks on the board. Alternatively, add small cardboard stops around the block edges so each block drops into the same position.
Step 4: To print, place the paper in the L-corner, position the inked block against its stops, and press. Repeat for each color using the same corner position.
This method costs almost nothing and takes 15 minutes to build. For many hobbyists, it is all you need.
Ternes Burton Registration Pins (Most Precise)
Ternes Burton pins are the gold standard for block printing registration. They use metal pins that slot into tabs on your paper and block, creating mechanical alignment that is repeatable to a fraction of a millimeter.
Step 1: Mount two Ternes Burton pins on your printing board, spaced wider than your paper width.
Step 2: Punch matching holes in a strip of cardstock (the Ternes Burton tabs) and tape these tabs to the top edge of your printing paper.
Step 3: Mount matching tabs on each carved block so the pins align the block the same way they align the paper.
Step 4: When printing, the paper tabs slot onto the pins, and the block tabs slot onto the same pins. This guarantees identical positioning for every color layer.
Experienced printers in Facebook and Reddit printmaking groups consistently recommend Ternes Burton pins for edition work. The investment is modest, and the accuracy is unmatched.
Mount Board Slot Method
This method uses slotted mount board to position your block. It sits between the L-jig and Ternes Burton pins in terms of precision.
Cut a window in a piece of mount board that is exactly the size of your block. Tape the mount board to your printing surface. Drop your block into the window, and it seats itself in the same position every time. Position your paper using pencil marks or an L-jig on top.
This works well when you have several blocks of the same size. It is faster than pins but more accurate than a basic corner jig.
How to Register Multiple Colors in Block Printing: Step-by-Step Process
Here is the complete process from design to finished print. I will use the multi-block technique since it is the most versatile.
Step 1: Plan your design and color separation. Decide how many colors you want and which parts of the design each color covers. Keep your first multi-color project to two colors. Reddit users strongly recommend starting simple before advancing to three or more.
Step 2: Transfer your design to each block. Use carbon paper to trace your full design onto every block. Then carve each block so it carries only its assigned color areas. All blocks must be the same physical size.
Step 3: Set up your registration system. Build your jig, mount your pins, or prepare your corner guides before inking anything. Test the system with an uninked block and blank paper to make sure everything seats correctly.
Step 4: Ink and print your first color. Roll ink evenly on the first block with your brayer. Place your paper in the registration jig, position the inked block, and transfer the image using a baren or press. Print the full edition for this color before moving on.
Step 5: Let the first color dry completely. Drying time depends on your ink type. Water-based inks may dry in a few hours, while oil-based inks can take days. Do not rush this step, or wet ink will smear during the next pass.
Step 6: Register and print the second color. Ink the second block, place the same paper back in the jig using your registration system, and print. If your registration is set up correctly, the second color lands exactly where it should.
Step 7: Repeat for additional colors. Continue the process, letting each color dry before printing the next. Always test on scrap paper first to verify alignment before committing to your edition.
Step 8: Sign your finished prints. Once dry, inspect each print for alignment quality. Number your edition and set aside any misaligned prints as artist proofs.
Paper vs Fabric: Registration Considerations
Registration works differently on paper and fabric, and the distinction matters for clean results.
On paper, sheets are rigid and can be positioned precisely in a jig. Standard printmaking papers like Somerset, Arches, or Hosho hold their shape and do not stretch, making paper registration straightforward. Ternes Burton pins work beautifully on paper because punched tabs stay put.
Fabric introduces challenges. Fabric stretches and shifts, especially under pressure. For textile printing, you need to secure the fabric to your printing surface with adhesive or pins. Fabric also absorbs ink differently, so test your colors on scrap fabric first.
For fabric registration, an L-shaped jig or pinned board works better than Ternes Burton tabs, since punching holes in fabric weakens the material. Many textile printers mark registration points directly on the fabric with chalk or removable pencil.
If your blocks are slightly different sizes, which happens often with handmade blocks, add thin cardboard shims to the smaller block so it seats the same way in your jig. This is a fix printmakers on forums use constantly when working with imperfect blocks.
Common Registration Mistakes and How to Fix Them
After talking with printmaking communities and working through my own disasters, here are the most common registration problems and their solutions.
Colors are slightly offset. This is usually caused by paper shifting during printing. Make sure your paper is locked into the jig before pressing. Apply even pressure with your baren rather than pressing harder on one side.
Blocks are different sizes. This breaks registration completely. Fix it by shimming the smaller block with thin cardstock so all blocks seat identically in your jig. Next time, cut blocks from the same sheet and measure before carving.
Design transferred incorrectly to blocks. If the carbon transfer shifted, your carved design is already misaligned. Always tape both the design and carbon paper securely before tracing. Check alignment by stacking the carved blocks face to face against a light source.
Ink bleeding between colors. This is not a registration problem but a drying problem. If the first color is not fully dry, the second layer picks up wet ink and smears. Wait longer between color passes, or use a hair dryer on low to speed drying with water-based inks.
Pressure inconsistency across the edition. If some prints align well and others do not, your printing pressure is inconsistent. Use a press instead of hand-burnishing for editions, or develop a consistent burnishing routine that covers every area equally.
Tips for Perfect Color Alignment Every Time
Start with two colors. Every experienced printmaker I have talked to says the same thing. Master two-color registration before adding complexity.
Print light colors first. Lighter inks are more forgiving if there is slight misregistration, and darker colors printed on top create natural definition. This printing order also means any slight overlap reads as shadow rather than error.
Leave a small gap between color zones rather than butting them edge to edge. A hairline gap is nearly invisible and gives you a tiny margin of error. Overlapping edges require near-perfect registration.
Always print a few extra sheets. Some prints will misalign no matter how careful you are. Planning for extras means a few failures do not shrink your final edition.
Label your blocks clearly with color names and print order. When you come back to a project after a break, clear labels prevent printing colors in the wrong sequence.
FAQs
How to do a multicolor block print?
Create separate carved blocks for each color, set up a registration jig to hold your paper and blocks in the same position, print the lightest color first across your full edition, let it dry, then register and print each subsequent color layer using the same alignment system.
How does block print work with different colors?
Each color is printed from a separate block or from the same block at different carving stages. Registration jigs, pins, or corner guides ensure the paper and block align identically for every color pass so the layers stack correctly.
What are the 4 color separations for screen printing?
Screen printing uses CMYK color separation: cyan, magenta, yellow, and key (black). Each color gets its own screen. This is a screen printing concept, but block printers can apply the same principle by carving four separate blocks for process color prints.
Can you mix block printing ink colors?
Yes, you can mix block printing ink colors to create custom shades. Stay within the same ink type and brand for smooth blending. Water-based and oil-based inks should never be mixed together since their formulas are incompatible.
Conclusion
Mastering how to register multiple colors in block printing comes down to three things: choosing the right technique, building a reliable registration system, and practicing patience between color passes. Whether you use the multi-block method, reduction printing, or the jigsaw approach, the principles stay the same.
Start with two colors and a simple L-shaped corner jig. Once your alignment is consistent, move up to Ternes Burton pins for edition work or try reduction printing for guaranteed registration. The troubleshooting strategies above will help you fix the problems every printmaker faces along the way.
Grab your tools, set up your jig, and start printing. Your first aligned multi-color print is closer than you think.