
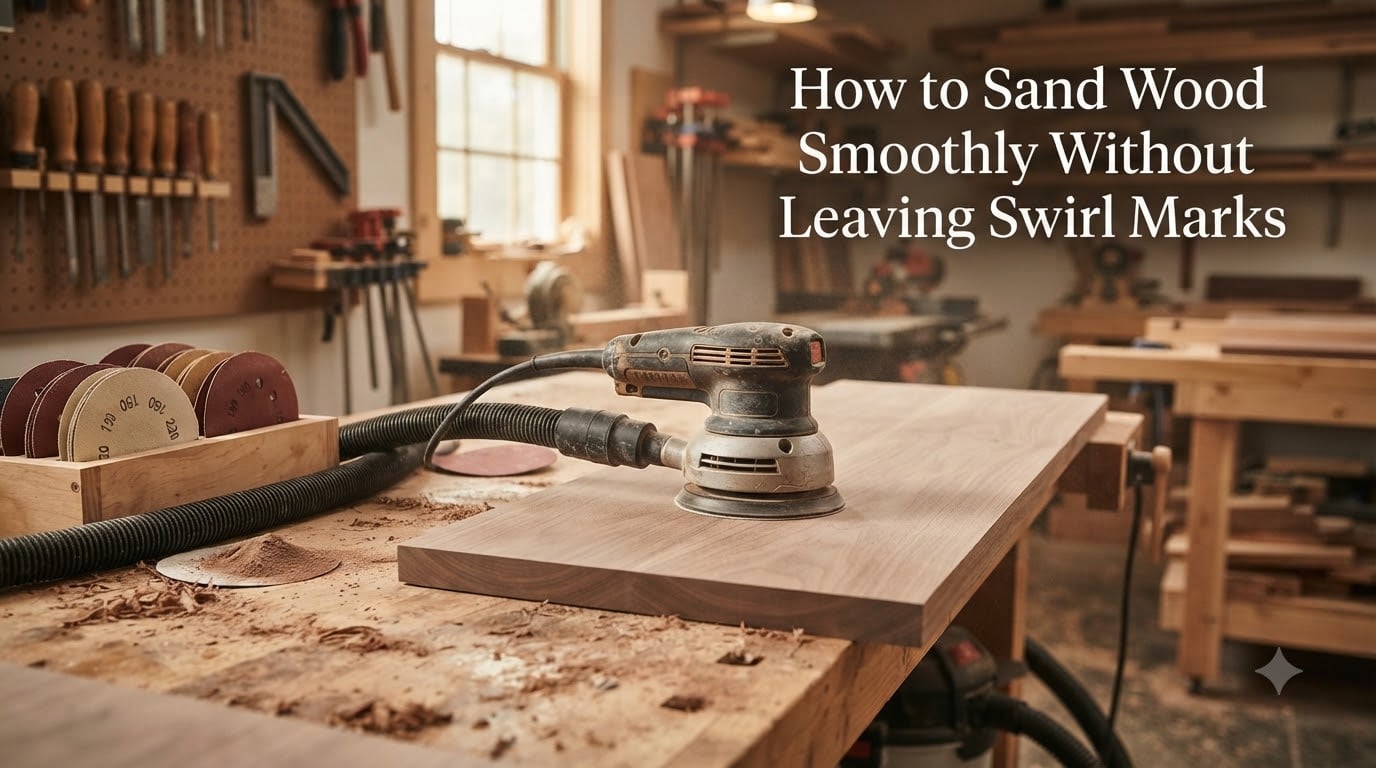
Nothing ruins a woodworking project faster than seeing faint circular scratches show up under a fresh coat of finish. Those scratches, called swirl marks or pigtails, are the most frustrating part of learning how to sand wood smoothly without leaving swirl marks. I have spent years refining my sanding process after ruining more panels than I care to admit. The good news is that swirl marks are almost entirely preventable once you understand what causes them and follow a disciplined approach to grit progression, sander technique, and dust management. In this guide, I will walk you through every step I use to get a glass-smooth surface that stays clean under stain, oil, or clear coat.
You will learn what actually creates those circular marks, the exact grit sequence to follow, how to handle your sander for a swirl-free result, and a couple of pro tricks most guides leave out. I have pulled insights from woodworking forums, professional finishers, and my own shop testing so you can skip the trial and error I went through.
Table of Contents
- What Causes Swirl Marks When Sanding Wood?
- How to Sand Wood Smoothly Without Leaving Swirl Marks: Step-by-Step
- The Isopropyl Alcohol Test: Reveal Hidden Scratches
- The Pencil Trick for Knowing When to Change Grit
- How to Fix Swirl Marks That Are Already on Your Wood?
- Quick Reference: Sandpaper Grit Progression Chart
- Sander Types and Their Scratch Patterns
- Tips for Sanding Contoured and Curved Surfaces
- Common Sanding Mistakes That Create Swirl Marks
- FAQs
- Conclusion
What Causes Swirl Marks When Sanding Wood?
Swirl marks are tiny circular scratches left behind by the random oscillating and rotating motion of a random orbital sander. They look like little squiggly pigtails or tight circles embedded in the wood surface. Most of the time you cannot see them on bare wood under shop lighting. They become glaringly obvious the moment stain, oil, or a clear finish hits the wood and soaks into those micro-scratches.
The random orbital sander spins and oscillates simultaneously to minimize visible scratch patterns. When everything is working right, the random motion ensures no two scratches overlap in the same circle. Problems start when the sander is pushed too hard, moved too fast across the wood, or used with a dull or contaminated abrasive. Each of those factors makes the pad dig in and leave a repeating scratch pattern instead of a random one.
Debris on the sanding pad is another major culprit I see blamed constantly on woodworking forums. Even a single grain of abrasive lodged under your sandpaper acts like a tiny cutting tool that scratches the wood in a circular path. That is why pad cleaning between grit changes matters as much as the grit sequence itself.
Jumping grit levels also causes visible swirls. If you go from 80 grit straight to 180 grit, the 180-grit paper cannot fully remove the deep scratches left by the 80 grit. Those deeper scratches then show through the finish as visible lines or swirls. Proper grit progression ensures each grit erases the scratches from the previous one.
How to Sand Wood Smoothly Without Leaving Swirl Marks: Step-by-Step
The key to a swirl-free finish is a systematic process. Follow these steps in order and you will see a dramatic improvement in your surface quality.
Step 1: Choose the Right Starting Grit
Start with the finest grit that can handle the job. For raw wood straight from a planer or jointer, 120 grit is usually the right starting point. For wood with visible machine marks, glue squeeze-out, or paint to remove, drop to 80 or 100 grit. Starting too coarse means more work because you have to remove those deep scratches through every subsequent grit.
If the wood is already reasonably smooth from a planer, begin at 150 grit to save time and reduce the risk of over-sanding. The goal is to start just one or two grits coarser than the existing surface condition.
Step 2: Progress Through Grits Systematically
The golden rule of grit progression is to never skip more than one grit level. A typical sequence for raw wood is 120, 150, 180, 220. For finer finishes under polyurethane or lacquer, extend to 320. Each grit needs to remove the scratch pattern left by the previous grit before you move on.
Here is the grit sequence I recommend for most projects:
120 grit — Starting grit for planed or jointed raw wood
150 grit — Refines the 120-grit scratches
180 grit — Standard stopping point for most stains
220 grit — Good base for oil finishes and clear coats
320 grit — For ultra-smooth finishes and between-coat sanding
One forum woodworker I came across put it well: jumping grits is the number one reason people see scratches after finishing. Take the time to go through each step.
Step 3: Master Sander Technique: Speed, Pressure, and Movement
How you move the sander matters more than which sander you own. Keep the sander flat on the wood at all times. Never tilt it to sand an edge or push down on one side, because tilting causes the edge of the pad to dig in and carve pigtails into the surface.
Use light pressure. Let the weight of the sander do the work. Pressing down does not speed up sanding — it actually reduces the random orbit action and forces the abrasive to cut in circles. I rest my hand on the sander without pushing, letting the tool glide across the surface.
Move the sander slowly across the wood, about one inch per second. Move with the grain direction whenever possible. Going too fast causes the pad to skip and grab, which is exactly how pigtails form. One experienced woodworker on a forum noted that movement speed is just as important as the sander itself for avoiding pigtails.
Step 4: Start and Stop the Sander Correctly
This step gets skipped in most guides, but it makes a huge difference. Always place the sander flat on the wood before turning it on. Let the pad reach full speed while in full contact with the surface. Starting the sander in midair and placing it on the wood while it is spinning leaves a concentrated swirl pattern right where the pad touched down.
The same rule applies in reverse. Lift the sander off the wood before releasing the trigger. Let the pad coast to a stop in the air, not on the wood. Those few seconds of contact as the sander spins down create some of the most visible swirl marks you will encounter.
Step 5: Clean Dust Between Every Grit Change
Dust management is where most beginners create their own swirl marks. Loose grit from a coarser sandpaper can break off and stay on the surface. When you switch to the next grit, those leftover coarse particles get trapped under the finer paper and carve deep scratches into the wood.
Vacuum the surface thoroughly between every grit change. Follow up with a tack cloth to pick up any remaining fine dust. Do not skip this even if the surface looks clean — those tiny abrasive grains are nearly invisible but devastating to your finish.
Clean the sanding pad itself too. Use a stiff brush or compressed air to clear debris from the hook-and-loop backing and the abrasive surface. Never set the sander down with the pad facing the floor or bench, because it picks up dust and grit instantly. Forum users repeatedly cite pad debris as the hidden cause of mysterious swirl marks.
Step 6: Do a Final Hand Sanding Pass With the Grain
Even with perfect orbital sander technique, a final hand sanding pass with the grain removes any remaining random orbit scratches. This is the step that separates a good finish from a professional one. Take the same grit you finished with on the sander and hand sand the entire surface, moving only in the direction of the wood grain.
Use a sanding block, not just your hand and paper. A block keeps the abrasive flat and prevents it from following soft spots in the wood. A hand sanding pad with a foam backing works great for flat surfaces. For this final pass, the goal is to replace every circular scratch with a uniform scratch pattern that runs straight with the grain. Those straight scratches are nearly invisible under any finish.
After hand sanding, wipe the surface with a tack cloth and inspect under a raking light before moving on to finishing. This light-at-an-angle trick reveals any remaining swirls so you can address them before applying stain or clear coat.
The Isopropyl Alcohol Test: Reveal Hidden Scratches
Here is a trick I picked up from forum woodworkers that almost no guide mentions. Before you apply any finish, wipe the entire surface with denatured alcohol or isopropyl alcohol using a clean cloth. The alcohol temporarily darkens the wood the way finish would, revealing every scratch you missed.
This test is especially useful for corners, edges, and overhangs where swirl marks love to hide. The alcohol evaporates in a few minutes and leaves no residue, so you can sand any problem areas and test again without affecting your finishing schedule. I never apply stain or oil anymore without doing the alcohol wipe first. It has saved me from ruined projects more times than I can count.
If you see circular marks appear under the alcohol wipe, go back with your hand sanding block and the final grit, then test again. Repeat until the surface looks completely uniform under the alcohol reveal.
The Pencil Trick for Knowing When to Change Grit
This is a simple visual trick that takes the guesswork out of grit transitions. Before you start sanding with each grit, draw a light grid of pencil lines across the entire surface. As you sand, the pencil marks disappear where the abrasive has done its work.
When all the pencil lines from the previous grit are gone and the new ones you drew for the current grit are fully removed, you know that grit has completely erased the prior scratch pattern. This prevents both under-sanding, where you move on too soon and leave old scratches, and over-sanding, where you waste time on a grit that has already done its job.
Use a regular graphite pencil and keep the lines light. Heavy pencil marks can clog your sandpaper and leave graphite residue on the wood. I redraw the grid each time I change grits, and it has made my sanding process far more efficient and consistent.
How to Fix Swirl Marks That Are Already on Your Wood?
If you already applied finish and swirl marks appeared, do not panic. The fix depends on how deep the scratches are and what type of finish you used.
For finish that is still wet or tacky, wipe it off immediately with the appropriate solvent (mineral spirits for oil-based, water for water-based). Let the wood dry completely, then resand the surface. Go back two grits from where you finished and work back up through the sequence. Do a final hand sanding pass with the grain before reapplying finish.
For cured finish, you need to sand through the finish layer to reach the scratches in the wood beneath. Start with 220 grit on a random orbital sander to remove the finish, then follow your normal grit progression from 150 or 180 up to your target grit. This takes patience but produces a clean surface.
For shallow swirl marks visible only in the finish, try sanding the finish itself with 400 or 600 grit wet-dry paper using a lubricant like mineral oil or soapy water. This levels the finish and removes the scratches without going all the way back to bare wood. Follow with a polishing compound if needed.
Always run the isopropyl alcohol test before reapplying finish to confirm all scratches are gone. It is far easier to sand one more time than to strip a second failed finish coat.
Quick Reference: Sandpaper Grit Progression Chart
Use this chart as a fast reference for common woodworking projects. Adjust your starting grit based on the condition of your wood.
Raw wood from planer to stain: 120, 150, 180, then hand sand with 180 with the grain
Raw wood to oil finish: 120, 150, 180, 220, then hand sand with 220 with the grain
Raw wood to polyurethane: 120, 150, 180, 220, then hand sand with 220 with the grain
Painted wood repaint prep: 80 or 100 to remove old finish, then 120, 150
Between finish coats: 320 or 400 grit by hand with the grain, just enough to knock down raised grain
Ultra-smooth fine finish: 150, 180, 220, 320, then hand sand with 320 with the grain
Most staining projects do not need anything finer than 180 grit. Going finer than 220 before staining can actually close the wood pores and prevent the stain from absorbing evenly. Save ultra-fine grits for between-coat sanding and final finishing.
Sander Types and Their Scratch Patterns
The type of sander you use affects how likely you are to get swirl marks. Understanding the differences helps you choose the right tool and know what to watch for.
Random orbital sanders are the most common choice for fine woodworking. Their combined rotation and oscillation produce a random scratch pattern that is less visible than other types. With proper technique, they produce the least visible swirls of any power sander. They are the best all-around tool for achieving a smooth finish.
Sheet palm sanders (quarter-sheet sanders) use a straight back-and-forth oscillating motion only. They leave straight scratches that follow the direction you move the sander. If you always move with the grain, these scratches are nearly invisible. However, they cut more slowly than random orbital sanders.
Belt sanders use a continuous belt that cuts in one direction. They leave deep, straight scratches but no circular marks. Belt sanders are aggressive material removers, best for flattening rough stock. Always follow up with an orbital sander to refine the surface.
Detail sanders have triangular pads that oscillate in a tight pattern. They are useful for corners and tight spaces but tend to leave visible swirl marks in those areas. Always hand sand detail-sanded spots with the grain afterward.
Tips for Sanding Contoured and Curved Surfaces
Contoured and curved surfaces are where random orbital sanders struggle the most. The flat pad cannot follow complex shapes, and tilting the sander to reach curves is a guaranteed way to create swirl marks and uneven spots.
For gentle curves and rounded edges, use a soft sanding pad or interface pad between the sander and the abrasive. These foam cushions allow the pad to flex and follow moderate contours while keeping the abrasive in full contact with the surface.
For tight curves, profiles, and moldings, switch to hand sanding. Wrap sandpaper around a dowel, sponge, or shaped block that matches the contour. This gives you full control over pressure and direction. Always sand along the curve, not across it, to keep scratches following the natural flow of the shape.
For turned items like table legs or spindles, use a strip of sandpaper held in both hands and pulled back and forth around the circumference. This shoe-shine method creates uniform scratches that follow the round profile and disappear under finish.
Common Sanding Mistakes That Create Swirl Marks
Avoiding these common mistakes will dramatically improve your results. I have made every one of these at some point, and each one left its mark on a project.
Using too much pressure. Pushing down on the sander feels productive but defeats the random orbit action. The sander bounces and digs in, creating concentrated swirl patterns. Light pressure is always better.
Moving the sander too fast. Racing across the surface causes the pad to skip and grab. Slow, deliberate passes give the abrasive time to cut evenly and let the random motion do its job.
Skipping grits. Going from 100 to 220 saves five minutes but guarantees visible scratches. Every grit must remove the previous grit’s scratch pattern. This is non-negotiable for a clean finish.
Tilting the sander. Even a slight tilt makes the pad edge gouge the wood. Keep the pad perfectly flat at all times. Use the edge of the sander body, not the pad, to guide along edges.
Not cleaning between grits. Leftover abrasive grains from coarse paper get trapped under finer paper and carve deep scratches. Vacuum and tack cloth between every single grit change, no exceptions.
Using a worn or clogged pad. A sanding pad loaded with dust and resin cuts unevenly and transfers debris to the surface. Clean the pad regularly with a brush or compressed air, and replace hook-and-loop pads when they lose grip.
Setting the sander down while running. Placing a running sander on your bench or floor picks up debris on the pad. That debris transfers directly to your wood on the next pass. Always stop the sander in the air.
FAQs
How to get rid of swirls when sanding wood?
To get rid of swirl marks, go back two grits coarser than where you finished, then work back up through the full grit sequence. End with a hand sanding pass using the grain at your final grit. Vacuum between every grit change, keep the sander flat, and use light pressure. Test with isopropyl alcohol before finishing to confirm all scratches are gone.
Why is my orbital sander leaving swirl marks?
Your orbital sander leaves swirl marks when you use too much pressure, move it too fast across the wood, tilt the pad, skip grit levels, or have debris trapped under the sandpaper. Starting or stopping the sander while it is in contact with the wood also creates concentrated swirl patterns. Fix your technique and clean the pad between grits.
How to sand wood to be super smooth?
Progress through grits without skipping levels (120, 150, 180, 220, 320). Use light pressure and slow movements with a random orbital sander, keeping the pad flat. Vacuum and tack cloth between every grit. Finish with a hand sanding pass at your final grit, moving with the grain. Wipe with isopropyl alcohol to check for hidden scratches before applying finish.
What sander doesn’t leave swirl marks?
No power sander is completely swirl-proof, but random orbital sanders leave the least visible marks because their combined rotation and oscillation create a random scratch pattern. Sheet palm sanders leave straight scratches instead of circular ones, which are less visible if you always sand with the grain. A final hand sanding pass eliminates any remaining marks from any sander type.
What grit sandpaper for smooth wood finish?
For stain, finish sanding at 180 grit. For oil and polyurethane finishes, end at 220 grit. For ultra-smooth fine finishes and between-coat sanding, use 320 grit. Going finer than 220 before staining can close wood pores and cause uneven stain absorption. Always do a final hand sanding pass at your finishing grit, moving with the grain.
Should I hand sand after using an orbital sander?
Yes, always do a final hand sanding pass after using a random orbital sander. Use the same grit you finished with on the sander and sand only with the grain using a sanding block. This replaces the random circular scratches with straight scratches that run with the grain, which are nearly invisible under any finish.
Conclusion
Learning how to sand wood smoothly without leaving swirl marks comes down to patience and process. Choose the right starting grit, progress through each level without skipping, use light pressure and slow movements, keep the sander flat, clean dust between every grit, and always finish with a hand sanding pass with the grain. Add the isopropyl alcohol test and pencil trick to your routine, and you will catch hidden scratches before they ruin your finish. Take your time with each step, and your projects will have that professional, swirl-free surface every woodworker aims for.