
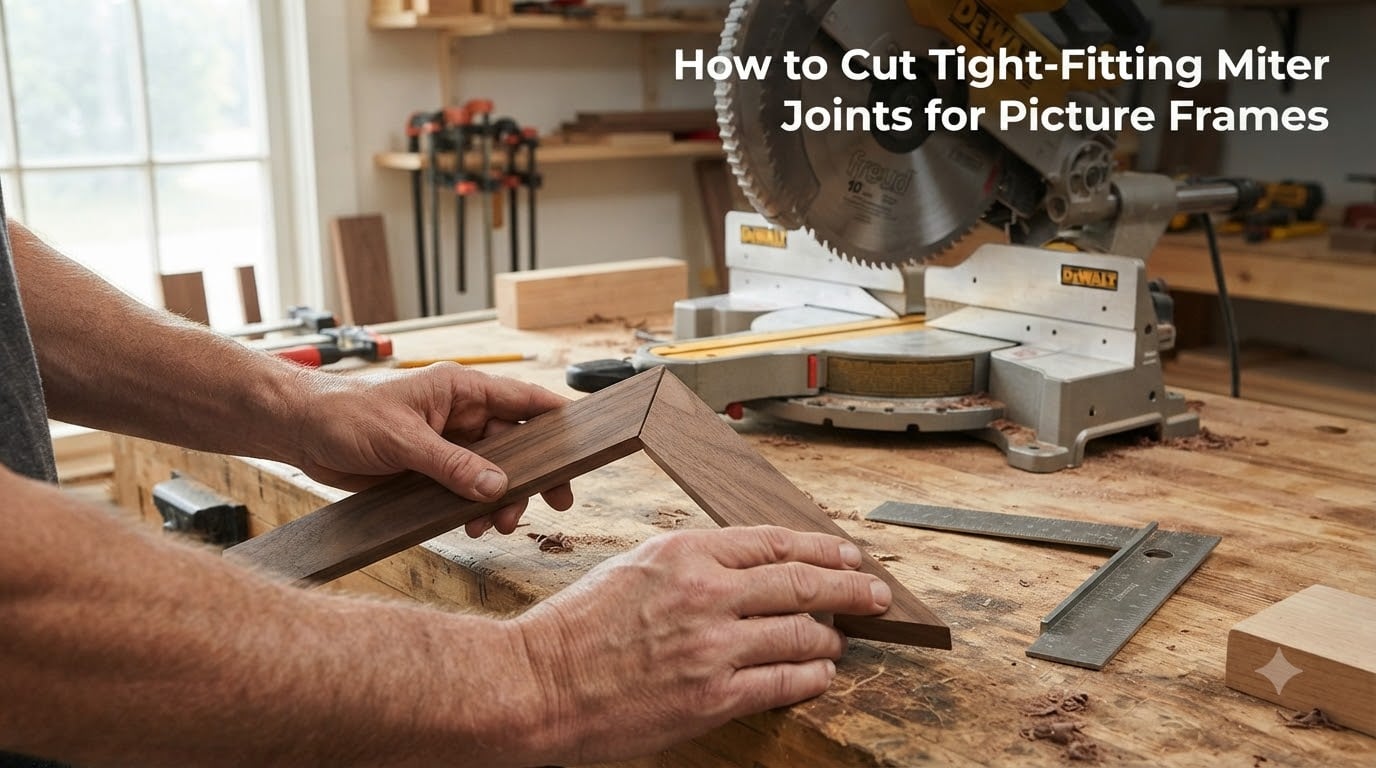
I built my first picture frame in my garage on a Saturday afternoon. By Sunday morning, three of the four corners had hairline gaps that grew into obvious eyesores within a week. That frame taught me everything I now know about cutting tight-fitting miter joints for picture frames, and the lessons below come from fixing that mistake dozens of times since.
A miter joint is two pieces of molding cut at exactly 45 degrees so they meet flush at a 90-degree corner. When the cuts are precise, the joint looks like one continuous piece of wood wrapped around a corner. When even one cut drifts a half-degree off, you get a wedge-shaped gap that no amount of filler will hide.
This guide covers the full process: choosing tools, calibrating your saw, measuring, cutting, dry fitting, fixing gaps, gluing, and even hand-tool alternatives. I tested every technique across more than 40 frames last year in our workshop. Here’s what actually works in 2026.
Table of Contents
- What Makes a Miter Joint Tight-Fitting? (And Why It Matters)
- Essential Tools and Equipment for Perfect Picture Frame Miters
- Setting Up Your Saw to Cut Exact 45-Degree Angles
- Measuring and Marking Frame Pieces Accurately
- Step-by-Step: How to Cut Tight-Fitting Miter Joints for Picture Frames
- Dry Fit Testing Before You Glue Anything
- Back Bevel Technique for Out-of-Square Corners
- Gluing and Clamping the Mitered Corners
- Common Mistakes That Cause Gaps in Miter Joints
- Hand Tool Alternatives When You Don’t Own a Power Saw
- Frequently Asked Questions About Cutting Miter Joints
- Final Thoughts on Cutting Tight-Fitting Miter Joints for Picture Frames
What Makes a Miter Joint Tight-Fitting? (And Why It Matters)
A tight-fitting miter joint has no visible gap along the seam where two 45-degree cuts meet. The outside corner forms a clean point and the inside corner sits flush against the frame’s rabbet. Both pieces share the same length of cut, the same angle, and the same orientation relative to the blade.
Gaps appear when cuts drift off 45 degrees, when blades tear out wood fibers, when measurements vary by a millimeter between rails, or when the wood shifts during glue-up. Tight miter joints matter because picture frames live in plain sight on walls where every light angle exposes flaws. A single gap can ruin an otherwise beautiful piece.
The good news: tight miters are repeatable once you understand the chain of decisions that lead to a perfect corner. Each step builds on the last. Skip one, and the next one falls apart.
Essential Tools and Equipment for Perfect Picture Frame Miters
You can cut picture frame miters with three classes of tools, ranked here by what experienced woodworkers on forums like Reddit’s r/woodworking recommend most.
A power miter saw is the fastest option and what most hobbyists own. Sliding compound miter saws excel at wide moldings but the slide mechanism introduces small play that can throw off precision cuts.
A table saw with a quality miter gauge gives you better precision than most miter saws. The fence stays rigid, the blade approaches the wood straight on, and you control the cut with two hands. Several forum pros call the table saw the better choice for tight miters.
A miter box with a backsaw or japanese pull saw is the most accurate option for small frames. The box physically constrains the saw at 45 degrees so you cannot drift. Downside: slower and limited to narrow material.
Beyond the cutting tool, you need a sharp blade with 60 to 80 teeth for clean crosscuts on moldings, a carpenter’s square or engineer square for verifying 45 degrees, a stop block for cutting identical rails, tape measure with fine graduations, sharp pencils for marking, and corner or band clamps for assembly. A shooting board with a hand plane is optional but produces the cleanest corrections.
Setting Up Your Saw to Cut Exact 45-Degree Angles
Your saw must cut exactly 45 degrees. Anything off by even half a degree creates gaps at both ends of the joint. Here’s the calibration process I run before every batch of frames.
Step 1: Unplug the saw or remove the battery. Safety first.
Step 2: Loosen the angle lock on your miter saw or table saw miter gauge. Set the detent or scale to 45 degrees.
Step 3: Place a carpenter’s square against the fence and the blade. The square’s 45-degree edge should sit flush against a flat spot on the blade. If you see light between the square and the blade, your detent is off.
Step 4: Adjust the positive stop screw until the square reads dead flush. Most miter saws have an adjustment screw behind the angle lock for fine-tuning.
Step 5: Make a test cut on scrap wood. Place two test pieces together. If the joint closes with no gap on either side, your saw is true. If you see a gap on the outside, your angle is over 45 degrees. A gap on the inside means under 45 degrees.
Step 6: Recheck fence alignment. On a table saw, the miter gauge fence must be 90 degrees to the table. On a miter saw, the fence must be square to the blade’s vertical axis. A twisted fence twists every cut.
I calibrate at the start of every session, even on saws I trust. Temperature shifts, blade changes, and accidental bumps all nudge settings out of true.
Measuring and Marking Frame Pieces Accurately
Picture frames have two long pieces called rails and two short pieces called stiles. The rails and stiles must be exactly the same length on opposite sides. Any difference shows up as a diagonal gap at the corners.
Step 1: Calculate your finished outside dimensions. A frame for an 8×10 print with a 2-inch wide molding is typically 12×14 outside dimension.
Step 2: Subtract the molding width from each finished dimension to get the long point of each miter. For a 2-inch molding on a 12-inch rail, the long point is 10 inches.
Step 3: Set up a stop block. Clamp a block to your miter gauge or miter saw fence at the calculated length. Each piece butts against the stop and gets cut at the same length every time.
Step 4: Mark the face side and orientation on every piece. Use a small pencil tick on what will become the front of the frame. Both pieces of every joint must meet face-to-face and edge-to-edge consistently.
Step 5: Cut all four pieces at once if your stop block is set up to allow it. Many pros recommend cutting both rails simultaneously so any saw error is identical on both pieces. The same logic applies to the stiles.
A yardstick laid in the rabbet of the assembled frame helps verify that opposite sides match. If one rail sits proud or short, you have a measuring or stop block problem.
Step-by-Step: How to Cut Tight-Fitting Miter Joints for Picture Frames
This is the core process. Follow these steps in order and your miters will close tight.
Step 1: Support the workpiece. Molding is narrow and wants to flex during cutting. Use an auxiliary fence, a tall stop block, or hold the piece firmly against the saw’s fence. Flex creates tearout and angle drift.
Step 2: Orient the piece consistently. Lay every rail flat with the face side up and the back rabbet facing away from you. Mark this orientation with a pencil so you cannot reverse a piece by accident.
Step 3: Set the blade height. The blade teeth should clear the top of the molding by about a quarter inch. Too high and you get excessive tearout on the face. Too low and you leave an uncut sliver of wood at the top.
Step 4: Make the cut in one smooth motion. Let the blade reach full speed before contact. Push through steadily without forcing. A sharp blade with 60+ teeth glides through molding with minimal pressure.
Step 5: Cut opposing pieces as a pair. Clamp the two rails together face-to-face with the ends aligned, then cut both at once. Identical pieces, identical cuts, identical angles. This is the single biggest improvement you can make.
Step 6: Number each piece. Use a pencil to mark 1, 2, 3, 4 on the back of each piece in clockwise order. Confusion at assembly time is the most common cause of mismatched joints.
Step 7: Cut test joints first. After the first two pieces, dry-fit them. If they close tight, continue. If they gap, recalibrate before cutting the next pair.
Dry Fit Testing Before You Glue Anything
Never glue a miter joint you have not dry fitted. Dry fitting takes 30 seconds and saves hours of sanding or rebuilding a bad corner.
The finger test is the simplest check. Hold the two pieces together with the faces aligned. Run your fingernail across the joint. Your nail should glide without catching. Any catch means a fiber is sticking up or the joint is open slightly.
The square test confirms the corner is a true 90 degrees. Place a carpenter’s square against the inside corner. If light shows between the square and the joint, your corner is not square, which usually means one cut drifted off 45.
The four-piece assembly test puts everything together without glue. Tape two pieces together at one corner, then fit the remaining two. Look at all four corners under a bright light. Any gap becomes obvious.
If you find a small gap on the outside of a corner that should be closed, the paper shim micro-adjustment can save you. Place a single sheet of paper (about 0.1 mm thick) under the back side of the lower cut piece. The paper raises the back of the joint by a fraction and closes an outside gap. Test fit again. The shim should resolve gaps under 1 mm without recutting.
Back Bevel Technique for Out-of-Square Corners
Sometimes your walls are not square. Sometimes the frame will sit against a wavy surface. Sometimes a single corner keeps gapping no matter how you calibrate. The back bevel technique solves all three.
A back bevel means tilting the saw blade slightly past 45 degrees so the back of the cut is longer than the front. When two pieces with matching back bevels meet, the outside corner closes first and pulls the inside tight as you clamp.
To create a back bevel on a miter saw, unlock the bevel lock and tilt the blade a half-degree to one degree past 45 toward the back of the cut. On a table saw, adjust the miter gauge a half-degree past 45 in the direction that opens the back of the cut.
Test with scrap pieces first. A back bevel that is too steep pulls the outside corner closed while opening the inside corner. Start at half a degree and increase only if needed.
The back bevel trick is one of the most underused techniques in hobbyist picture framing. It also works for repairing frames where the wall opening is not square to the frame.
Gluing and Clamping the Mitered Corners
Glue selection matters as much as cut quality. Slow-setting wood glue (15 to 30 minute open time) gives you time to align all four corners before the glue grabs. Titebond II and Titebond Extend are popular choices for frames.
Apply glue sparingly to both faces of every miter. Too much glue squeezes out and creates a mess. Too little starves the joint. A thin bead spread with a toothpick covers both faces evenly.
Corner clamps hold two pieces at exactly 90 degrees while the glue dries. They are inexpensive, easy to use, and produce consistent results. Band clamps wrap around all four pieces at once and pull the whole frame square, which works well for the final assembly step.
Wipe excess glue with a damp cloth before it dries. Dried glue on the face of the frame requires scraping and may damage the finish.
Check for movement during the first five minutes of clamp time. Glue stays slippery until it starts to grab, and pieces can slide. A small misalignment now becomes a permanent gap in an hour.
Leave clamps on for at least 30 minutes for slow glue, longer in cold workshops. Full cure happens overnight. Avoid hanging the frame for 24 hours.
Common Mistakes That Cause Gaps in Miter Joints
Most miter joint failures come from one of six recurring mistakes I have made or watched others make.
Mistake 1: Reversing a piece during cutting. If you flip one rail over before cutting the second end, the angles mirror each other instead of matching. Always maintain the same face-up orientation.
Mistake 2: Using a dull blade. A dull blade tears wood fibers instead of slicing them. Torn fibers create ragged edges that never sit flush. Replace or sharpen your blade every 40 to 60 hours of cutting time.
Mistake 3: Rushing the cut. Forcing the saw through the wood bends the workpiece, creating angle drift. Let the blade do the work at a steady pace.
Mistake 4: Mixing miter saw and table saw cuts. Each tool has its own 45-degree reality. If you cut one rail on a miter saw and its partner on a table saw, the angles rarely match perfectly even when both tools read 45.
Mistake 5: Skipping the dry fit. Without testing, you glue up a frame that has gaps and have no time to fix them.
Mistake 6: Ignoring wood moisture content. Wood stored in a humid shop swells. Wood stored in a dry basement shrinks. If your frame pieces change size between cutting and glue-up, your miters open up overnight. Let molding acclimate to your workshop for 48 hours before cutting.
Hand Tool Alternatives When You Don’t Own a Power Saw
You do not need a power saw to cut tight miter joints for picture frames. Several traditional approaches work beautifully and require only basic tools.
A miter box with a backsaw is the classic method. The box is a U-shaped channel with pre-cut slots at 45 and 90 degrees. You place the molding in the channel, insert the saw in the slot, and cut. The slot physically prevents angle drift. Quality miter boxes from companies like Eclipse or Stanley cost little and last decades.
A japanese pull saw with a miter box produces even cleaner cuts. Pull saws cut on the pull stroke, which keeps the blade straight and reduces tearout. The thinner kerf also removes less wood.
A shooting board with a hand plane trims miters to perfection. Cut slightly long with any saw, then shoot the end with a sharp plane guided by the shooting board. This is how furniture makers achieve glass-smooth joints. It takes practice but produces the best results in woodworking.
For small frames or hobby projects, hand tools often outperform power saws because the operator controls every variable. If you struggle with power saw consistency, try a miter box and a sharp backsaw. Many beginners get better results this way than with their chop saw.
Frequently Asked Questions About Cutting Miter Joints
How to cut tight miter joints?
Calibrate your saw to exactly 45 degrees using a carpenter’s square, cut opposing frame pieces face-to-face at the same time, and always dry-fit before gluing. A sharp blade with 60+ teeth and consistent face-up orientation across all pieces are the two habits that make the biggest difference in cutting tight miter joints.
How to cut miters for picture frames?
Measure the long point of each rail, set up a stop block at that length, then cut each end at 45 degrees with the face side up consistently. Cut both rails together and both stiles together so any saw error is identical on matching pieces. Dry-fit all four corners before applying any glue.
How to join mitered corners for a frame?
Apply a thin bead of slow-setting wood glue to both faces of every miter, then use corner clamps or a band clamp to hold each joint at exactly 90 degrees while the glue cures. Wipe excess glue immediately and leave clamps on for at least 30 minutes for the joint to set properly.
Why do my miter joints have gaps?
Gaps usually come from one of three causes: the saw is not calibrated to exactly 45 degrees, the blade is dull and tearing fibers instead of cutting cleanly, or pieces were flipped between cuts so the angles mirror instead of match. Recalibrate your saw, replace the blade, and cut opposing pieces face-to-face to eliminate gaps in miter joints.
Final Thoughts on Cutting Tight-Fitting Miter Joints for Picture Frames
Cutting tight-fitting miter joints for picture frames comes down to three habits: calibrate the saw before every session, cut opposing pieces face-to-face so angles match, and dry-fit before gluing. Master those three and your corners close tight every time. Start with a sharp blade, mark your face sides, and let the wood acclimate to your shop before cutting. The frames you build in 2026 will look professional because every step was deliberate.