
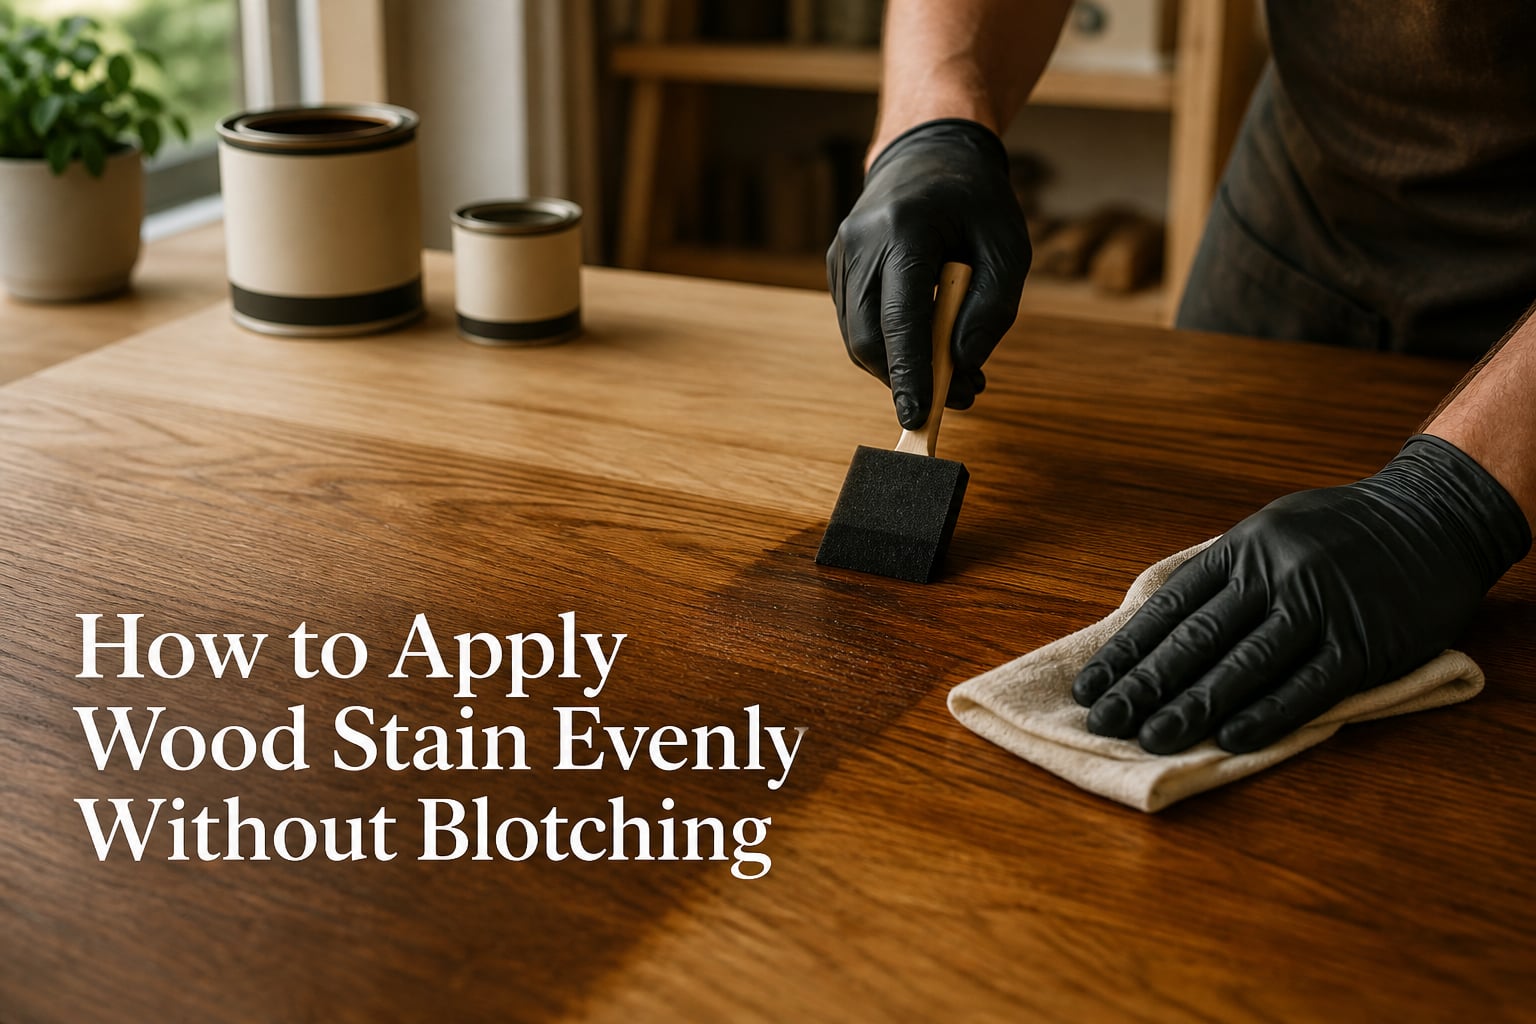
I learned how to apply wood stain evenly without blotching the hard way. My first project, a pine bookshelf, looked like a dalmatian after one coat.
Softwoods like pine, maple, and birch absorb stain unevenly because their grain density changes across the board. Denser areas soak up less pigment while porous zones drink it in, leaving you with dark patches and light streaks. I have stained more than 40 projects since that bookshelf, and I can tell you the fix is not expensive tools or fancy products. It is a repeatable process: sand to the right grit, seal the surface, and apply stain with patience.
In this guide, I will walk you through the exact steps I use on every project. You will learn why blotching happens, which products actually prevent it, and how to handle the trickiest wood species. By the end, you will know how to apply wood stain evenly without blotching on pine, maple, birch, and even cherry.
Table of Contents
- Why Does Wood Stain Get Blotchy?
- Tools and Materials You’ll Need
- How to Prepare Wood for Staining Without Blotching?
- Using Pre-Stain Conditioner the Right Way
- Step-by-Step: How to Apply Wood Stain Evenly
- Wood Species-Specific Staining Tips
- Common Mistakes That Cause Blotchy Stain
- How to Fix Blotchy Wood Stain?
- Sealing and Protecting Your Stained Wood
- Frequently Asked Questions
- Final Thoughts
Why Does Wood Stain Get Blotchy?
Blotchy stain comes from uneven absorption. Wood is not a uniform surface. Earlywood (the light bands in the grain) is softer and more porous than latewood, so it absorbs pigment faster. When you brush stain across the board, the porous zones darken first while the dense zones stay pale.
Softwoods like pine, fir, and poplar amplify this effect because the density swings between rings are extreme. Maple and birch are hardwoods, but they have tight, inconsistent grain that also creates blotching. Cherry and walnut absorb stain more predictably, which is why experienced woodworkers often prefer them.
How Wood Grain Affects Stain Absorption
Grain direction matters too. End grain soaks up stain like a sponge because the wood fibers are cut open. If you stain a tabletop without sealing the end grain first, the ends will turn almost black. Face grain absorbs more evenly, and quartersawn boards absorb more consistently than plainsawn boards.
The Role of Density Variation
Any spot on the board where the wood is slightly denser than the area next to it will resist stain. Knots, mineral streaks, and reaction wood all create localized density changes. Pre-stain conditioner helps because it partially seals the entire surface so absorption happens at a more consistent rate.
Tools and Materials You’ll Need
Before you open a single can of stain, gather everything. I keep a dedicated staining kit in a plastic tote so I never have to hunt for a foam brush mid-project.
Random-orbit sander or sanding block
Sandpaper in 120, 150, 180, and 220 grit
Tack cloth
Lint-free rags (old cotton t-shirts work great)
Pre-stain wood conditioner
Oil-based or water-based stain in your chosen color
Natural-bristle brush or foam brush
Nitrile gloves
Mineral spirits (for oil-based stain cleanup)
Scrap wood for testing
Moisture meter (optional but helpful)
How to Prepare Wood for Staining Without Blotching?
Prep work is where most blotching problems start. Skip a step here and no amount of skill during application will save the finish.
Sanding to the Right Grit
Sand progressively through 120, 150, 180, and finally 220 grit. Stop at 220. If you sand to 320 or finer, you burnish the surface and close the pores, which prevents stain from absorbing at all and gives you a pale, washed-out look. I made that mistake on a cherry side table and had to resand the entire top.
Sand with the grain, not across it. Cross-grain scratches show up dramatically once stain darkens the wood. For a final pass, hand-sand with 220 grit using a sanding block. The randomness of hand pressure evens out any swirl marks left by the sander.
Removing Dust and Residue
Wipe down the surface with a tack cloth after sanding. Microfiber cloths work too, but tack cloths pick up finer dust. Any sawdust left on the surface will get trapped under the stain and create rough spots.
If the wood feels rough after the tack cloth, you have not sanded fine enough. A quick pass with 220 grit will fix it.
Checking Moisture Content
Wood with high moisture content absorbs stain unevenly. Fresh lumber, wood stored in a damp garage, or pieces that just came out of an unheated workshop can all be too wet. Aim for 12 to 15 percent moisture for interior projects.
If you do not have a moisture meter, leave the wood in your project room for at least 48 hours before staining. Acclimation alone solves a surprising number of blotching problems.
Using Pre-Stain Conditioner the Right Way
Pre-stain conditioner is the single most important product for blotch-prone woods. It is a thin sealer that partially fills the pores so stain absorbs at a more even rate. Skipping it on pine, maple, or birch almost guarantees a splotchy finish.
What Is Pre-Stain Conditioner?
Pre-stain conditioner is essentially a diluted finish. Most formulas are dewaxed shellac or a thin varnish. You brush or wipe it on, let it penetrate for 5 to 15 minutes, then apply stain without sanding the conditioner off. The conditioner and stain are designed to work as a system.
If you use a water-based conditioner, you need a water-based stain. Oil-based conditioner pairs with oil-based stain. Mixing chemistry is a fast path to adhesion problems and uneven color.
Step-by-Step Conditioner Application
Step 1. Stir the conditioner gently. Do not shake it. Shaking introduces bubbles that dry as rough spots.
Step 2. Apply a wet, even coat with a foam brush or lint-free rag. Work with the grain and cover the entire surface.
Step 3. Let it soak for 5 to 15 minutes. Read the label. Some products need only 5 minutes, others want closer to 30. I usually set a 10-minute timer.
Step 4. Wipe off excess conditioner with a clean rag. You want a damp surface, not a glossy film.
Step 5. Apply the stain within 2 hours. If you wait longer, the conditioner fully cures and you lose the absorption benefit.
Step-by-Step: How to Apply Wood Stain Evenly
Once the conditioner has set, you have a window of about 2 hours to apply the stain. Here is the process that gives me consistent results.
Test the Stain on Scrap Wood
Never skip the test board. Wood of the same species, purchased from the same lumberyard, can stain very differently from board to board. Cut a few inches off the end of your project board, sand it the same way, and run the full stain process on the scrap first.
I keep a binder of test board samples with the date, species, conditioner used, stain brand, and number of coats. When a client asks for a specific color, I can usually pull a matching sample from previous projects.
Stir and Apply the Stain
Stir the stain thoroughly with a paint stick for at least 2 minutes. Pigments settle at the bottom of the can, and shaking creates bubbles that ruin the finish. Stirring redistributes the pigment evenly so the color is consistent from the first brushstroke to the last.
Apply the stain with the grain using a natural-bristle brush, foam brush, or lint-free rag. Foam brushes are my favorite for small projects because they throw less stain and create fewer lap marks. For large surfaces like tabletops, a rag works faster than a brush.
Work in manageable sections. On a tabletop, I do one half at a time so I can wipe off the excess before the stain starts to dry.
Let It Penetrate, Then Wipe
Let the stain sit on the wood for 5 to 15 minutes. Longer penetration gives a darker color, shorter penetration gives a lighter tone. Check the label for the manufacturer’s recommendation, then adjust based on your test board.
Wipe off the excess stain with a clean lint-free rag, again working with the grain. Fold the rag often so you are always using a clean section. Any stain you leave on the surface will dry tacky and prevent the next coat from bonding properly.
Apply Additional Coats If Needed
For a deeper color, apply a second coat after the first one dries (usually 8 to 24 hours). Multiple thin coats always look better than one heavy coat. Each coat builds color without the splotchy buildup that happens when stain sits too long before wiping.
Stop adding coats when you reach the depth of color you want. More than three or four coats rarely improves the look and can cause the finish to peel later.
Wood Species-Specific Staining Tips
Different woods behave differently under stain. Knowing your species saves hours of frustration.
Staining Pine Without Blotching
Pine is one of the most blotch-prone woods you will encounter. Always use pre-stain conditioner on pine, and consider gel stain instead of penetrating stain. Gel stain sits on top of the surface rather than soaking in, which gives you much more control over the color.
Sand pine to 180 grit, not 220. The slightly rougher surface helps the stain grip instead of pooling on top.
Staining Maple and Birch
Maple and birch are tight-grained hardwoods that stain unevenly if you skip the conditioner. They also show sanding scratches more than pine, so take extra care to sand evenly with a random-orbit sander.
Avoid water-based stain on maple if possible. Water raises the grain and creates a rough texture that is hard to sand smooth after staining. Oil-based stain gives more predictable results on maple and birch.
Working with Cherry and Other Hardwoods
Cherry is one of the easiest woods to stain evenly. Its tight, consistent grain absorbs stain predictably. Cherry also darkens with age and UV exposure, so a stain that looks light on day one will deepen over the next several months.
Walnut is so dark naturally that you may not need any stain at all. Most woodworkers just oil walnut to bring out the figure. Oak accepts stain beautifully but has large pores that can look busy if you use a dark stain.
Common Mistakes That Cause Blotchy Stain
Most blotching comes from one of these five mistakes. I have made every single one of them at some point.
Skipping pre-stain conditioner on softwoods or tight-grained hardwoods.
Sanding too fine (320 grit or higher) and burnishing the surface.
Leaving stain on too long before wiping, which causes sticky buildup and uneven color.
Staining wood with high moisture content.
Applying stain in direct sunlight or a cold room, which causes uneven drying.
Another mistake I see often is stirring the stain, then immediately applying it without testing. Always test on scrap wood first. The 10 minutes you spend on a test board saves hours of sanding and re-staining.
How to Fix Blotchy Wood Stain?
If your stain has already dried blotchy, you have a few options. The fastest fix is to sand back to bare wood and start over. Use 120 grit to remove the old stain, then progress through 150, 180, and 220 grit as usual.
For minor blotching, you can sometimes even out the color by applying a tinted gel stain over the blotchy area. Gel stain sits on top of the surface, so a second coat in a similar color can mask darker spots.
If blotching is severe, strip the finish completely with a chemical stripper or by sanding. Stain sinks deeper than most people expect. Skipping the sanding step and just adding more stain almost always makes the blotching worse.
Sealing and Protecting Your Stained Wood
Once the stain has fully dried (give it at least 24 hours), seal the surface with a clear topcoat. Polyurethane is the most common choice for interior projects. Use oil-based polyurethane over oil-based stain and water-based polyurethane over water-based stain.
Apply two to three thin coats, sanding lightly with 320 grit between coats. Wipe off the sanding dust with a tack cloth before each new coat. The sealer locks in the stain color and protects the wood from moisture, scratches, and UV damage.
For food-contact surfaces like cutting boards or dining tables, use a food-safe finish such as mineral oil or pure tung oil. These finishes need to be reapplied periodically but are safe for kitchen use.
Frequently Asked Questions
How to avoid blotches when staining wood?
Apply a pre-stain conditioner to seal the wood, then wipe stain on with the grain and remove excess within 15 minutes. Sand to 220 grit (not finer) and always test the stain on scrap wood first.
Why does my wood look blotchy after staining?
Blotchy stain happens because wood absorbs pigment unevenly. Softwoods like pine, maple, and birch have inconsistent grain density, so porous areas soak up more stain than dense areas. Skipping pre-stain conditioner or sanding too fine makes the problem worse.
What is the best way to apply wood stain evenly?
Use a foam brush or lint-free rag to apply stain with the grain. Work in small sections, let the stain penetrate for 5 to 15 minutes, then wipe off all excess with a clean rag. Multiple thin coats produce more even color than one heavy coat.
How to fix blotchy wood stain without sanding?
For minor blotching, apply a tinted gel stain over the blotchy area to even out the color. For severe blotching, sanding back to bare wood and re-staining with pre-stain conditioner is the only reliable fix.
Final Thoughts
Learning how to apply wood stain evenly without blotching comes down to three habits: sand to exactly 220 grit, always use pre-stain conditioner on blotch-prone woods, and wipe off excess stain within 15 minutes. Follow these three rules and your finishes will look professional on the first try.
If you are starting a new project, grab some scrap wood and run through the full process on the test board before touching the real piece. The 20 minutes you spend testing saves hours of frustration. With practice, staining becomes one of the most satisfying parts of woodworking.